
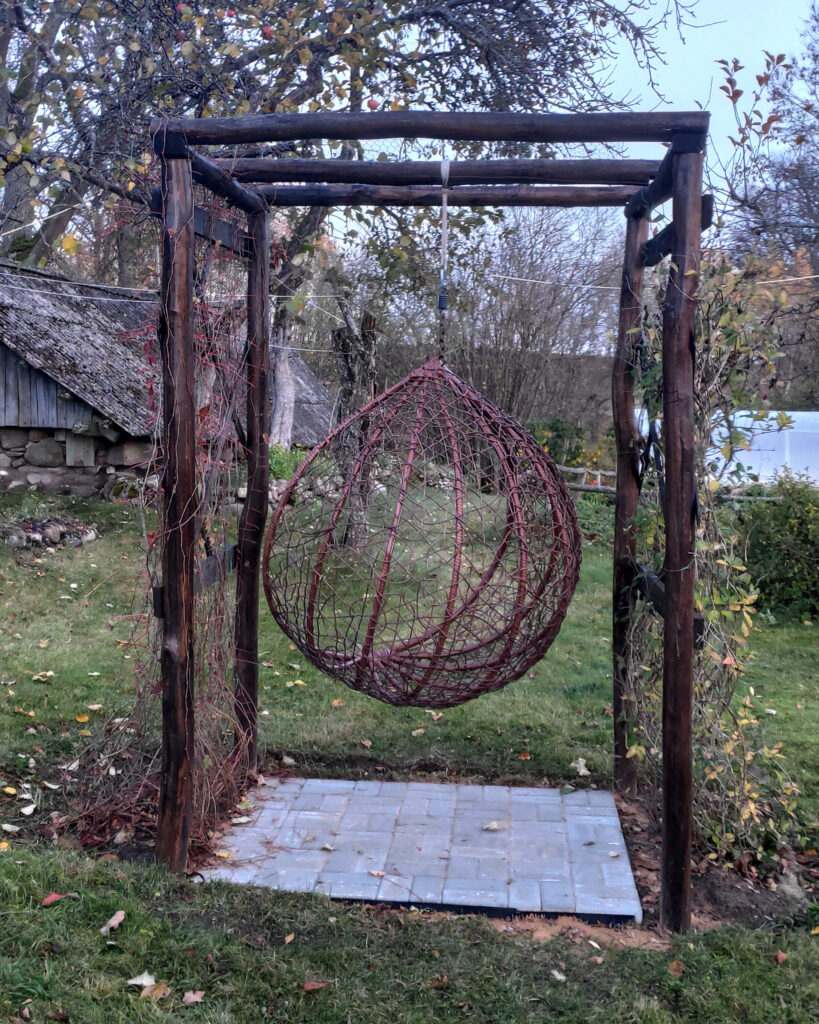
The DIY Wooden Hanging Chair Stand was a simple garden project that Janis and I created in the spring of 2022. Hanging out in the garden, something was always missing – a chill area. Somewhere to sit down while enjoying the garden and nature and relax after a long day.
For this project, I replanned an existing Virginia Creeper trellis made of 3 Norway spruce logs in a tripod shape. I also tried to use as many materials as were on our property.
Materials that I used for this project:
- Lumber pieces approximately 15cm in diameter and at least 2,5m (8ft) long
- Chair, to get measurements (even from an online shop)
- Protective paint for wood
- Cordless screwdriver, screws, saw, measuring tape, pencil, shovel, and safety equipment, like gloves and glasses.
- Optional – some kind of ground cover – I used pavers. Also, plants if you want yours to be greener and create some shade.
Planning and Preparation
Sketching the design
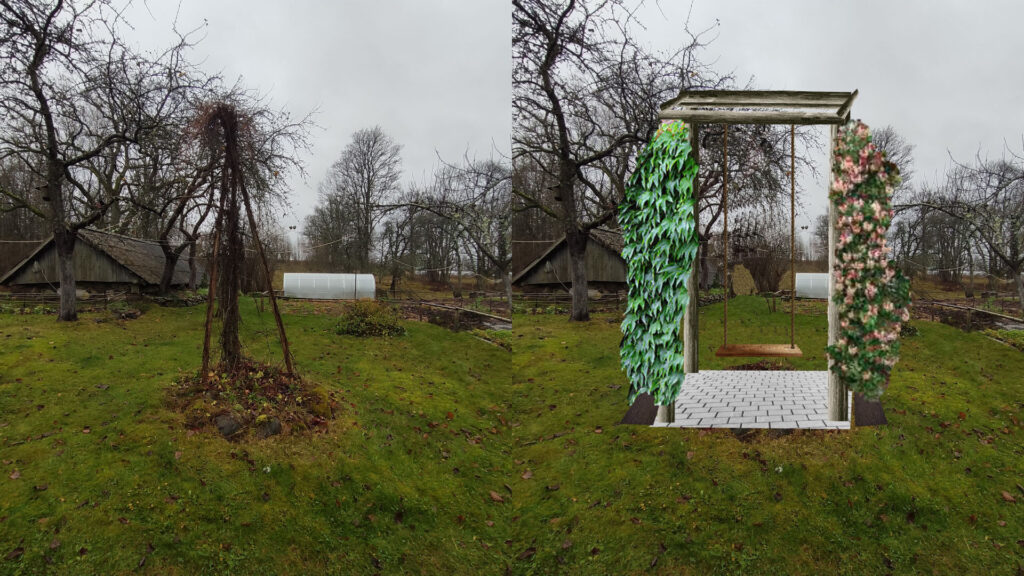
Everything starts with an idea, but it is better if that idea is transformed into a design sketch. For that, I used Affinity Photo, which is similar to Photoshop, and this is how my project vision was created (see the 1st. image). In this step, it is also important to think about every wood joinery in the easiest and simplest way possible – that will save headaches later when actually making joints.
Preparing the place
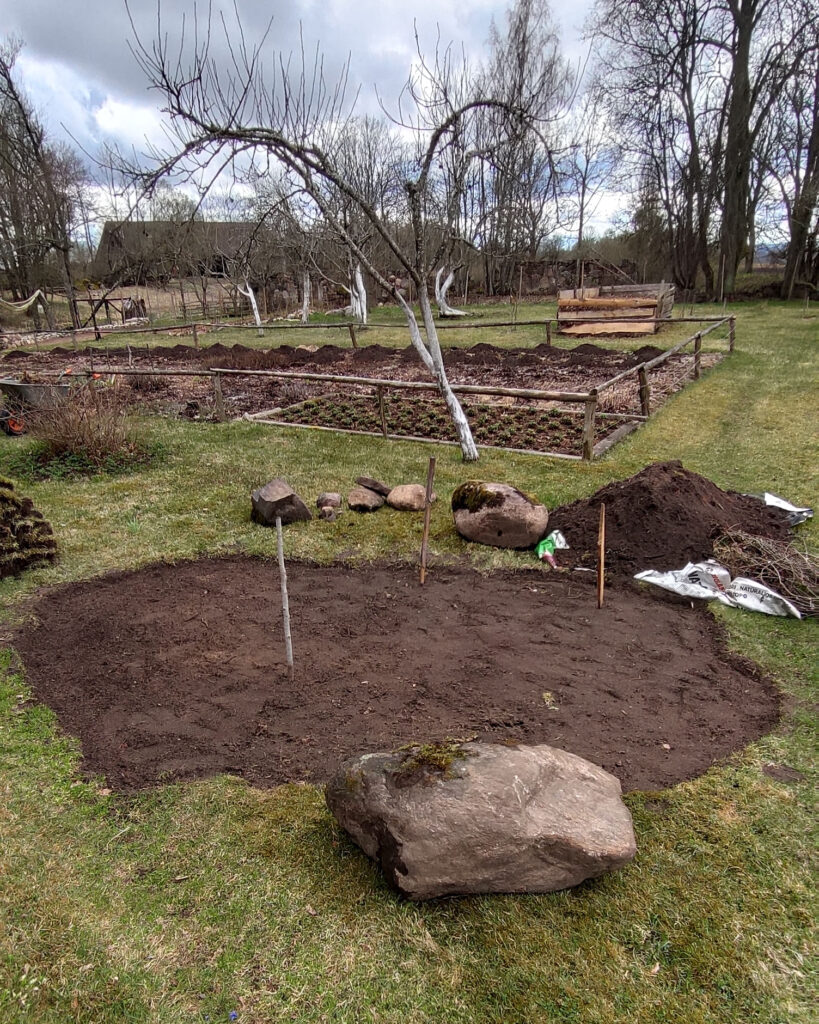
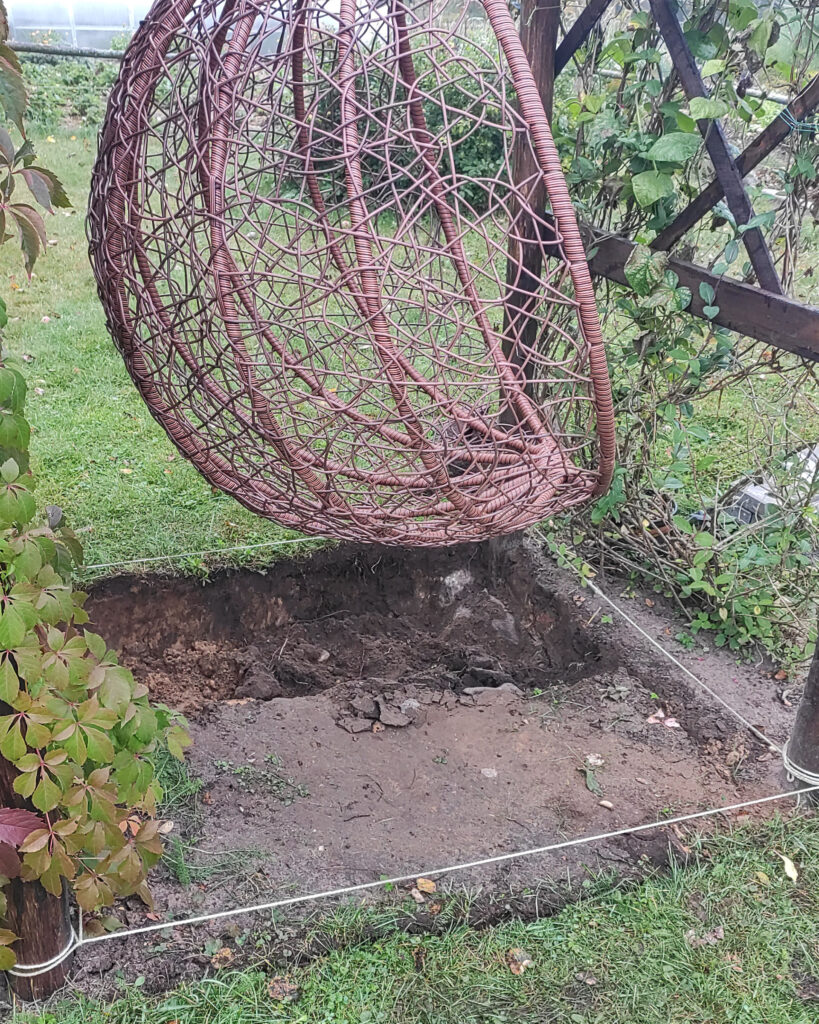
The project area was a little bit elevated from the rest of the ground level, as a raised flowerbed with Virginia Creeper growing there and huge rocks to support the raised flower bed. So, the first thing was to lower that elevation. We removed a layer of sod, dug out all the rocks – some of them were really huge and heavy, as well as we removed an excess layer of soil. Next, we evened out the soil with a raker, measured the area where the stand would be, and around that, we placed back the sod pieces and watered all really well.
Gathering and preparing materials
The typical and best building material is a conifer tree, but this time, we used materials from a deciduous tree. If you would like to recreate this DIY, I recommend using pine, spruce, or any similar wood for its natural resinous fiber.
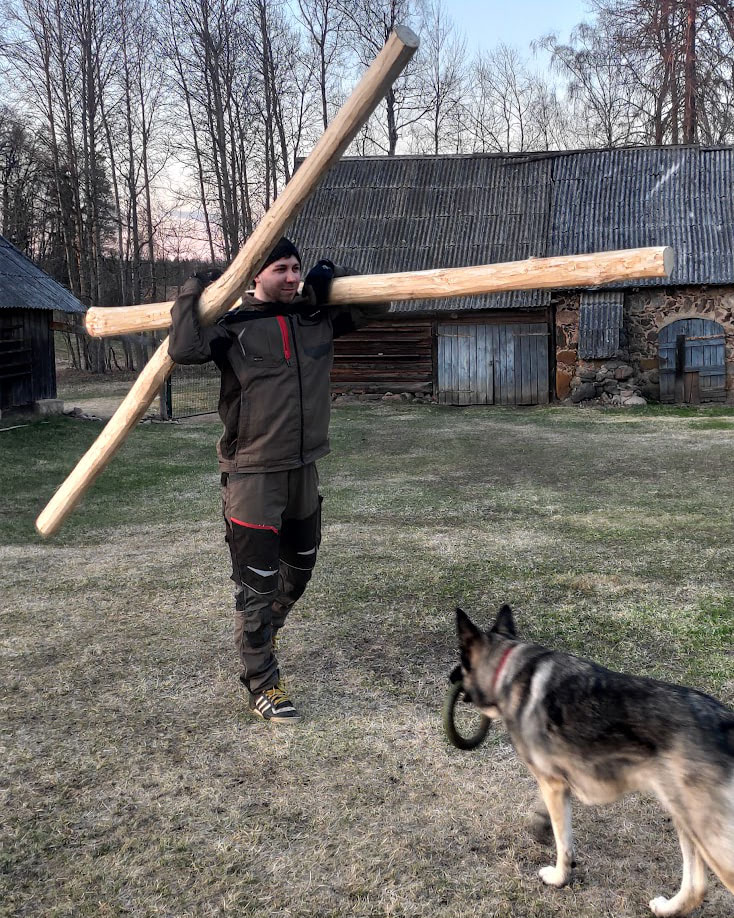
After our forest thinning, we found doable thickness aspen trees and cut 4 pieces by 2,5m (8ft) in height for the “legs”. The rest we left for a “roof” part – 2 parts 2m (7ft) and 3 parts 2m, but those sizes also depend on a chair size and your sketch.
We peeled off the bark and let them slightly dry out due to the high water amount in the wood in springtime. We cut out the end shapes so that the structure would be sturdier.
Spring of 2022 wasn’t the warmest, and the cut pieces were barely dried up to hold the paint. We chose to paint them with Pinotex Ultra Lasure in the color “walnut,” and after a couple of coats, they were ready for our project.
Building the Wooden Hanging Chair Stand
One of the first steps is to measure the actual chair – there should be some space for a soft swing, but not too much. I had an egg chair, which was 93×72 cm (3×2 ft). I left approximately 40 cm from each side of my measurement sketch.
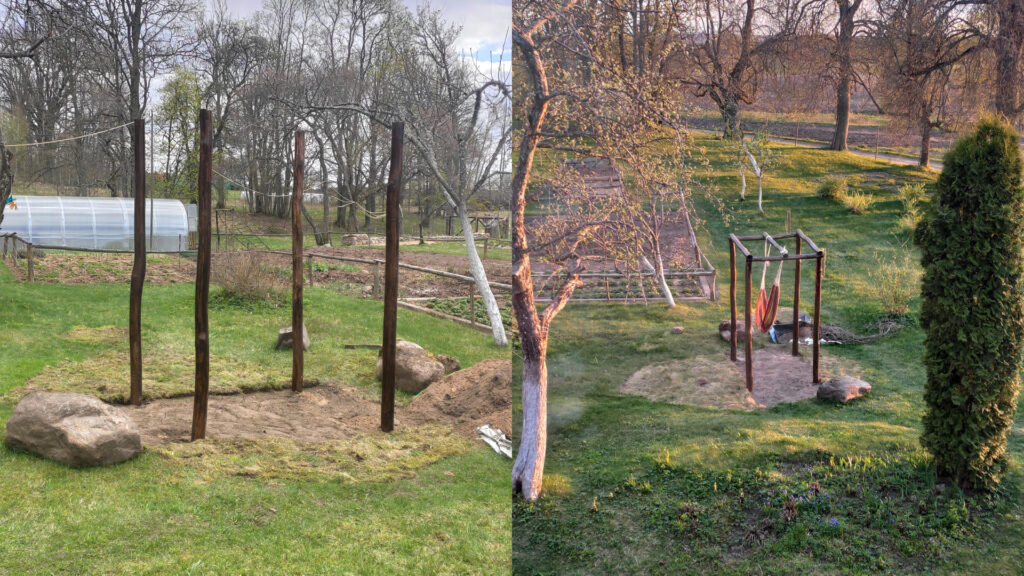
When the measurements were clear, it was time to build the stand. We dug four holes 50 cm (1,6ft) deep, placed painted wood logs in the hole, and leveled and secured them with rocks and sand. After all four legs were on the ground, it was time to add the top part where the chair would hang from.
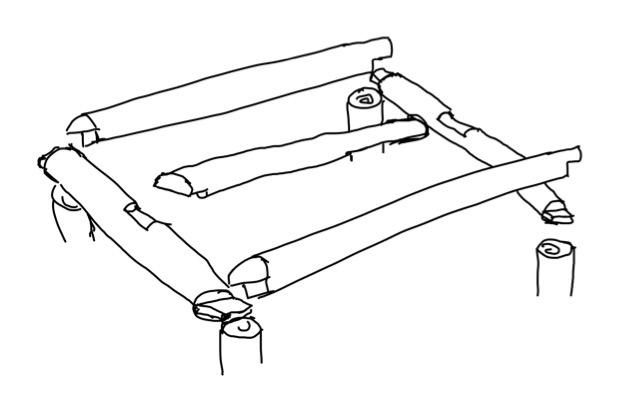
We created a square-like shape by connecting all legs together, and we added a middle peace from where the chair will be hung. By then, the base structure was finished.
Decorating Hanging Chair Stand
Since the stand replaced the old trellis structure for the Virginia Creeper vine, it has to do the same purpose – be a support for the plant. We needed to decide which sides would be as “walls” and which would be as entrance points.
We chose the north and south sides as walls. For that, we cut thin slices of wood and painted them with the same color of protective coating. We also needed 4 pieces approximately 2cm (0.80 inches) thick and in the length of each wall, which we also coated in the same color. Then those thicker pieces were screwed to the legs, so one side would have 2 boards, displayed parallel to each other with a distance of 70 cm (27.5 inc) from each other. Between those 2 boards, we added those thin wood slices – four per wall in a rhombus-shaped look.
Adding a live and green wall
Of course, I wanted the stand to be green and would serve as protection from the hot sun when chilling in an egg chair. On the north wall, I planted the same Virginia Creeper vine that we dug up before, and for the south wall, I replanted a honeysuckle vine from another place in the garden. Since Virginia Creeper is quite a dominant plant, it won’t mind living on the shadier side, and it also covers everything really quickly, meaning it will also cover the “roof” part of the stand. Another great thing about this plant is the color in autumn – it turns bright red and really stands out. Honeysuckle vine, on the other hand, will thrive in a sunny spot, and I will enjoy the sweet smell of all the flowers while sitting there.
Both plant vines I attached in an artistic way around “legs” and that rhombus-shaped element with green twine.
Hanging the Chair and Final Touches
This step was a long-awaited one – finally, a place to sit down while enjoying nature around. But for one thing, we weren’t prepared for – an attachment system for the chair. That is something that we still need to update this year. As for now, we used a rope to hang it, and it worked pretty well during that summer.
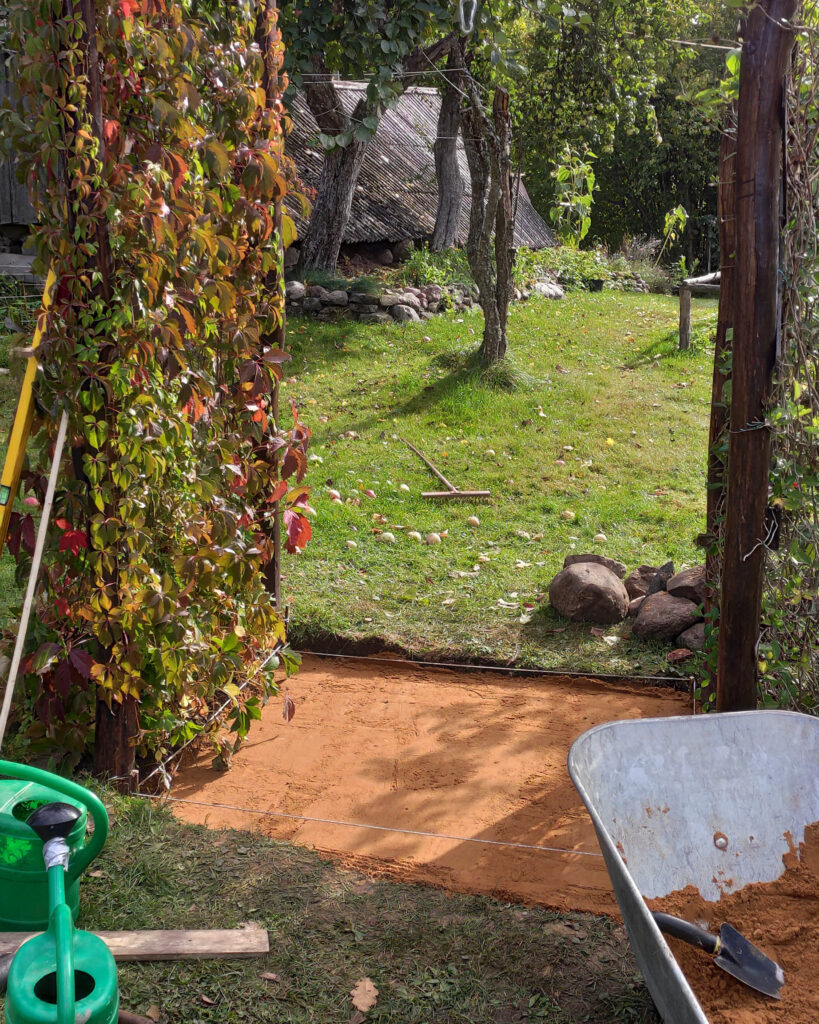
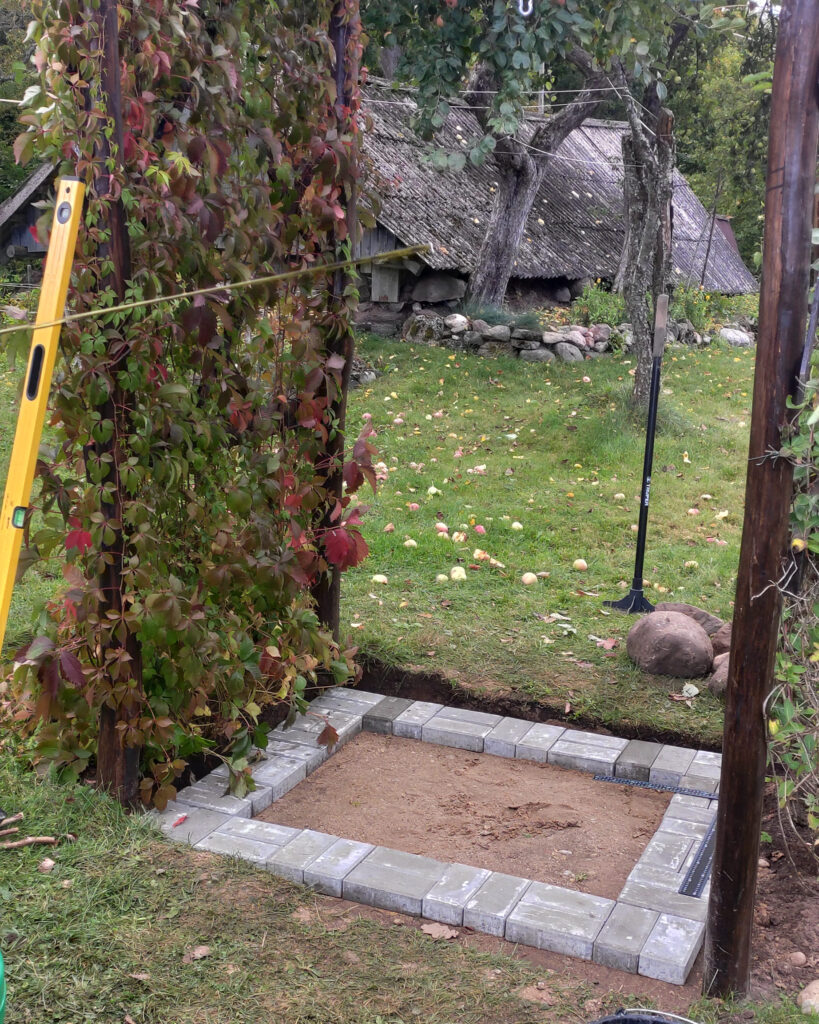
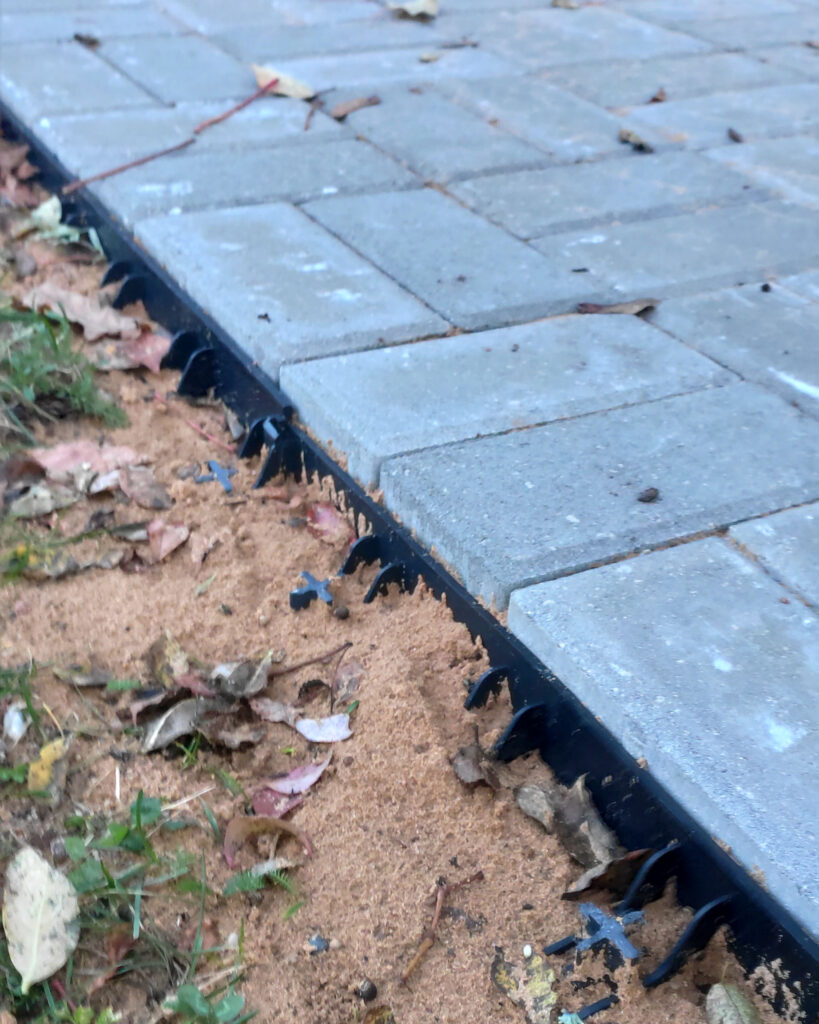
Another thing that I realized after a couple of times sitting in an egg chair was the ground underneath it. It was just bare soil that wasn’t comfortable for feet, and on a rainy day, it would get everything muddy. So, I decided to build a concrete paver area. I bought simple “prisma” style paver bricks in grey color and did a simple parquet pattern design. The sides were secured with plastic landscape edging border and anchoring spikes. The end result looked quite professional.
Conclusion
This is a simple and easy project that anyone can do. Even tho ours is not 100% done, it’s still really enjoyable as it is, for now.
Wood material, color, and overall style are also something to keep in mind and are optional according to your existing garden theme and design.
Another really important thing is to plan the ground cover under the chair – it might be just grass, pebbles, or anything else that pleases you.
Hopefully, you have some ideas for your own hanging chair project.
Update:
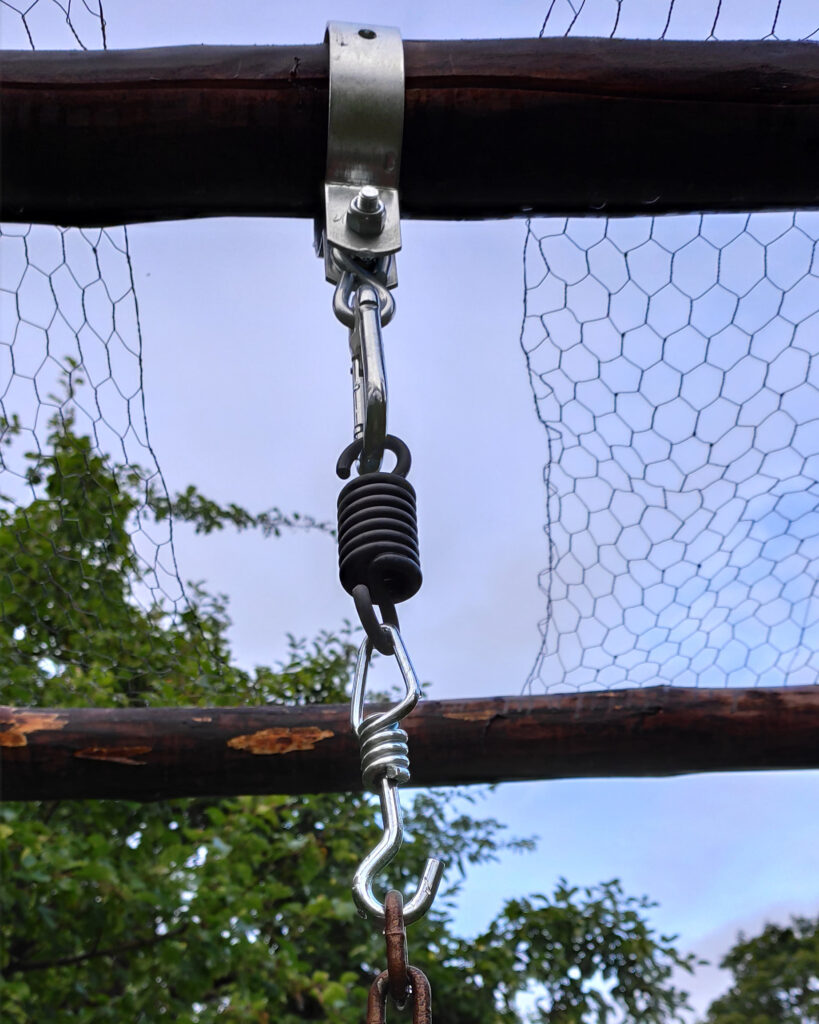
We finally updated the hanging chair system to something more advanced, so it’s easier to remove the egg chair whenever it’s needed.